PostgreSQL on Ubuntu VirtualBox
When you first start diving into a new database it’s always difficult to know what environment parameters and resources to use to just get started. I will walk you through setting up VirtualBox, Ubuntu, and PostgreSQL to get you started.
Downloads
First you will want to download VirtualBox:
https://www.virtualbox.org/wiki/Downloads
Second is the ISO file for Ubuntu 18.04 (or whatever version you want) make sure it is 64bit: https://www.ubuntu.com/download/server
Third is Putty an SSH utility that makes accessing your server much easier:
https://www.chiark.greenend.org.uk/~sgtatham/putty/latest.html
Configuring VirtualBox
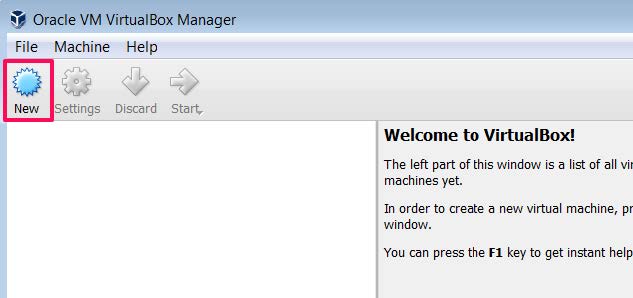
The install for VirtualBox is pretty simple, a bunch of next until it’s installed. Once you have it install run the exe and you’ll come to this window, click the new button in the top left corner.
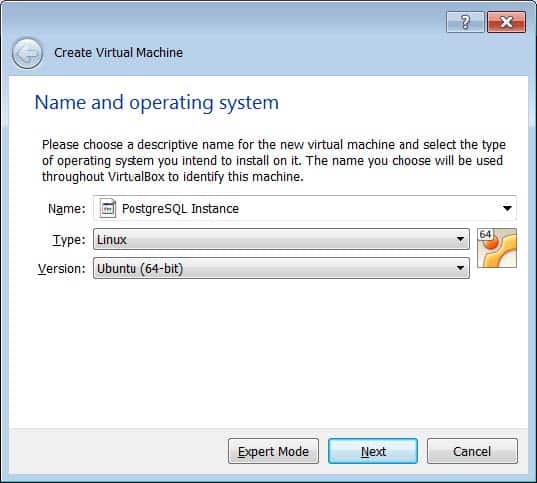
On the next window you will want to enter the name of the instance, whatever you like. Then select Linux from the type dropdown and Ubuntu 64-bit from the Version dropdown, click Next.
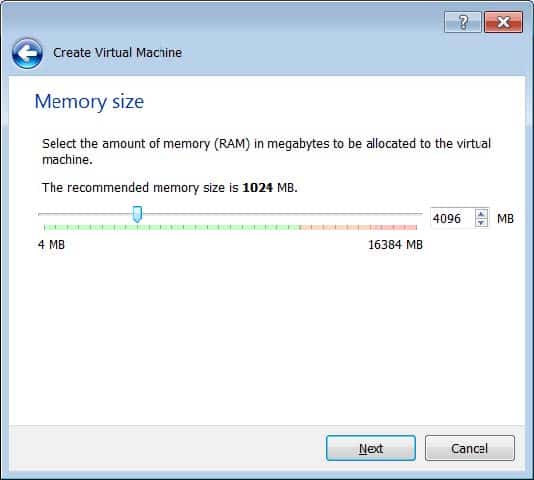
Allocate memory, you don’t need much if you’re working with sample data. 1024 is sufficient but I usually go with 4GB just to have room to work. This would also depend on the current memory you have on your system, don’t use so much that you tax your host operating system, click Next.
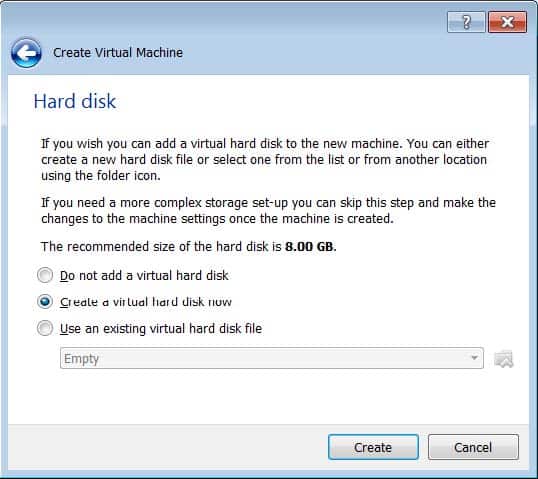
Create a new virtual hard disk.
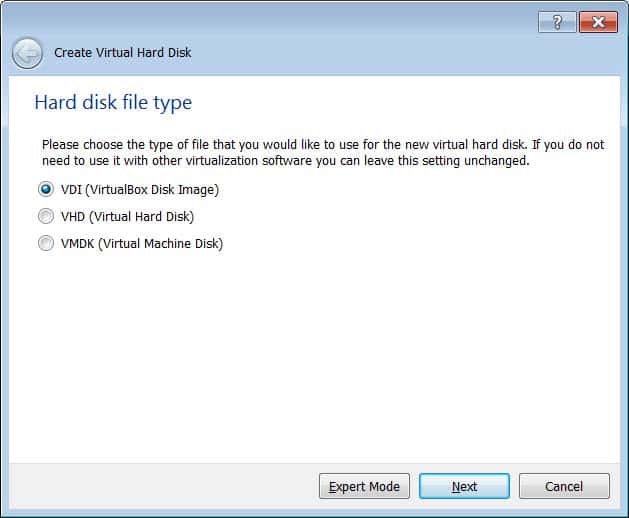
Select the default VDI.
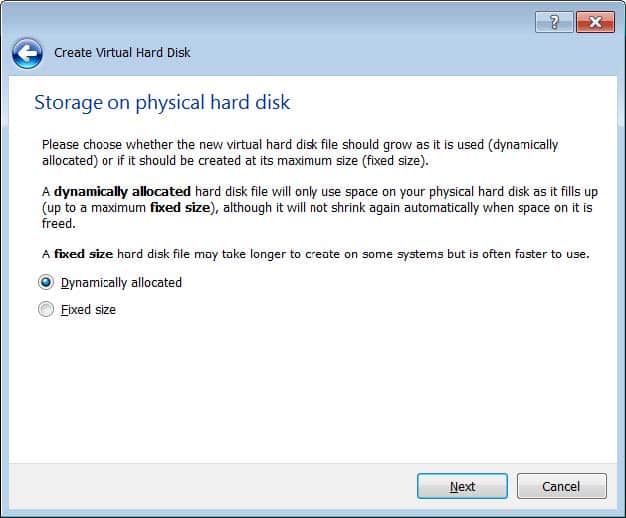
Select dynamically allocated. This makes sure that the full disk space won’t be used until you actually use it in your virtual machine. If you assign 8GB in your next step then that 8GB won’t be reserved, it will be used as needed.
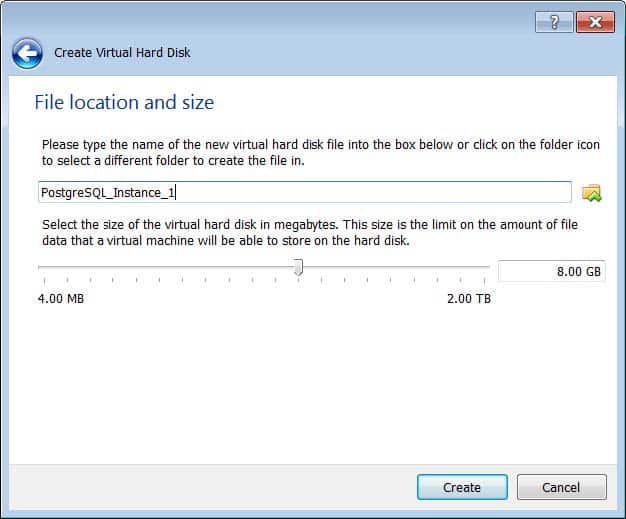
Select the amount of space you’ll need. If you’re importing large amounts of data you will need more disk space, if you’re just testing then you probably won’t need much, click create.
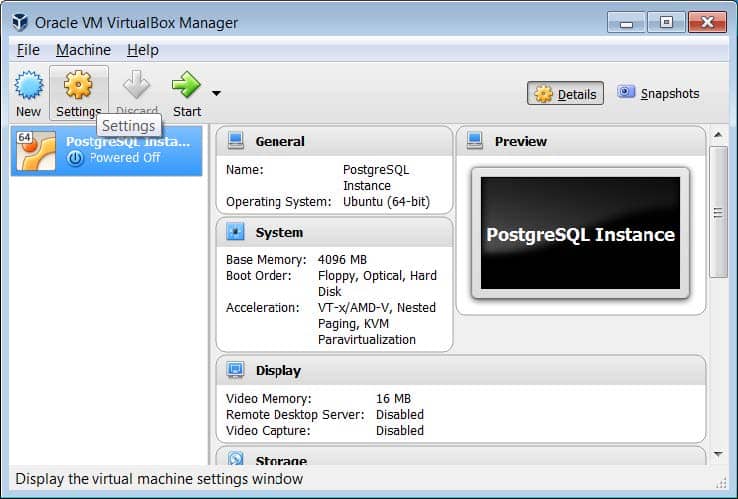
You should now be back to the main window for VirtualBox. Next we need to mount the Ubuntu ISO disc so it’s ready for installation when we start our virtual machine. Click settings at the top.
Here you can remove the empty disk and click remove.
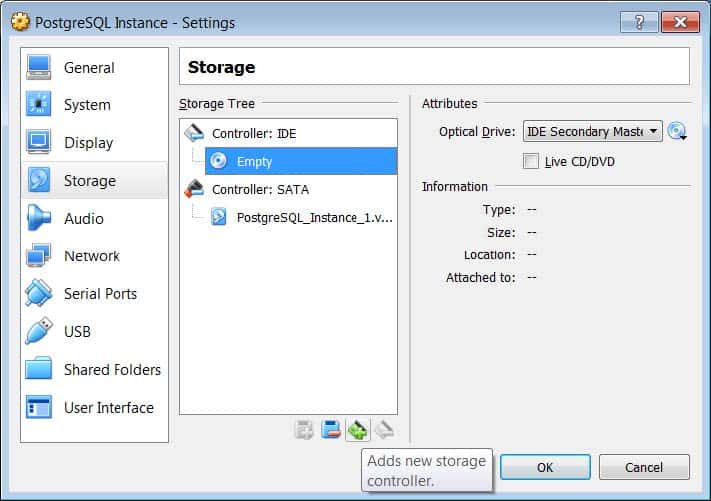
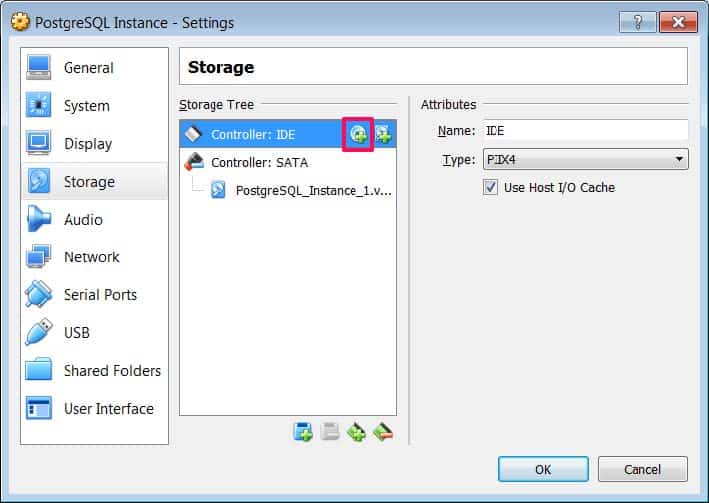
Click Controller: IDE and then click the Add Optical Drive Icon.
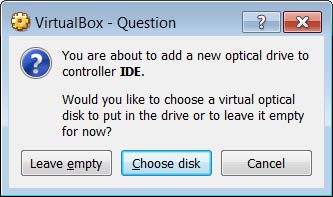
Click Choose Disk.
Browse to where you saved the Ubuntu file you downloaded earlier in the Downloads portion of this guide. The name should be similar to the one below, ending in iso and click Open and then click Ok.

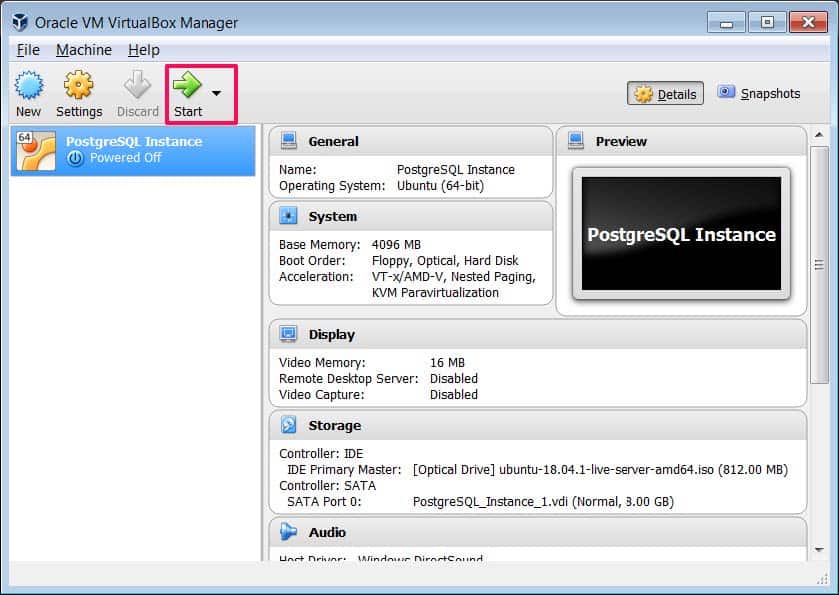
You can now click Start to boot up your virtual machine.
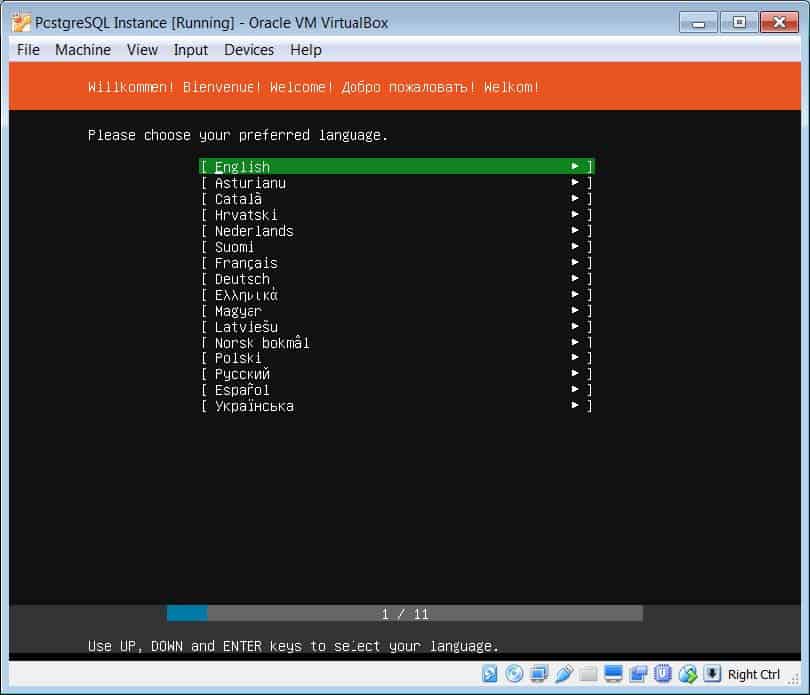
Select the language you want to use, press enter.
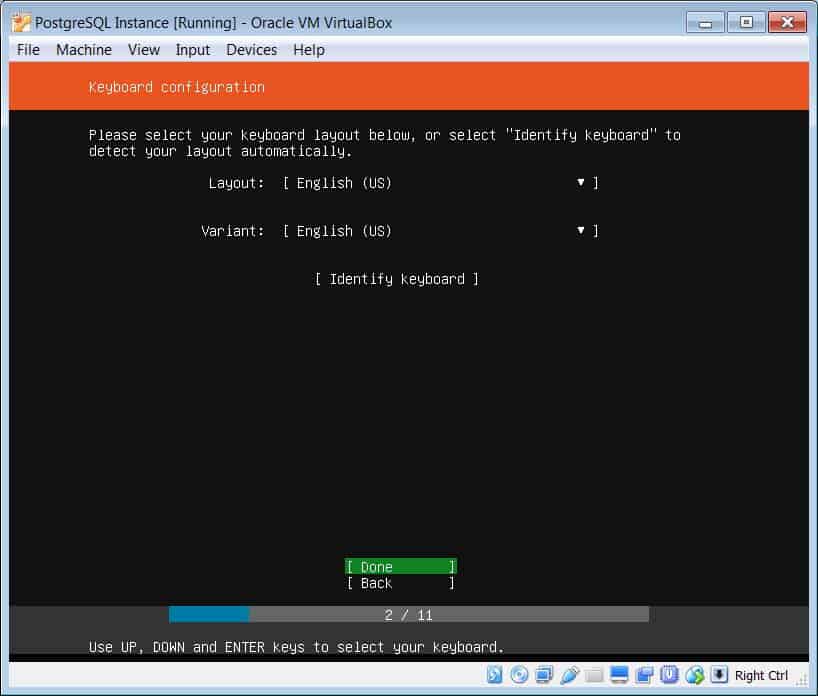
If you are using a different keyboard layout than the standard select it here, otherwise just hit enter again.
Press enter again.

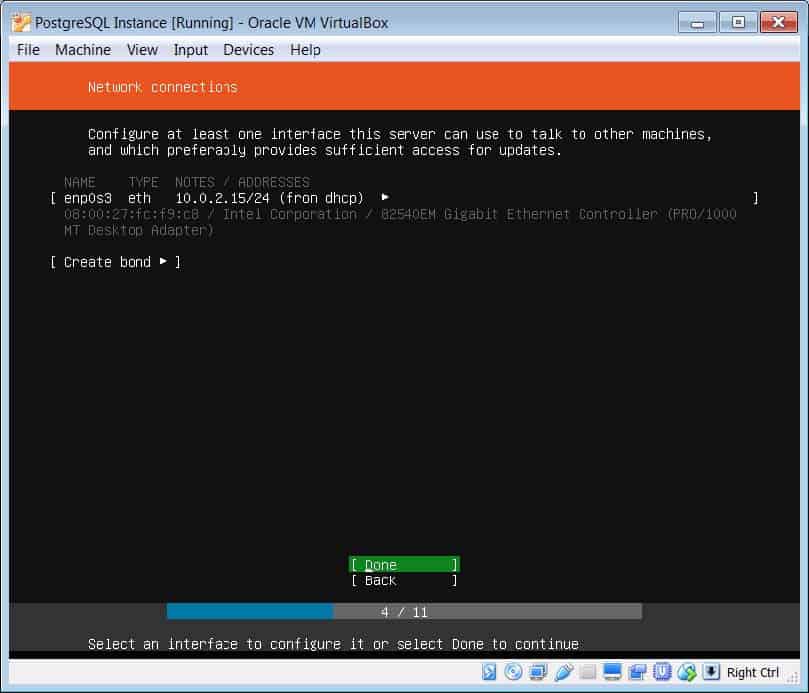
You can press enter to go through this screen however your IP may differ show on the adapter. If you’re on wireless like I am you may have to take an additional step in order to connect to your server. I will show this in a later step.
If you have a proxy you need to use, enter it here and press enter.

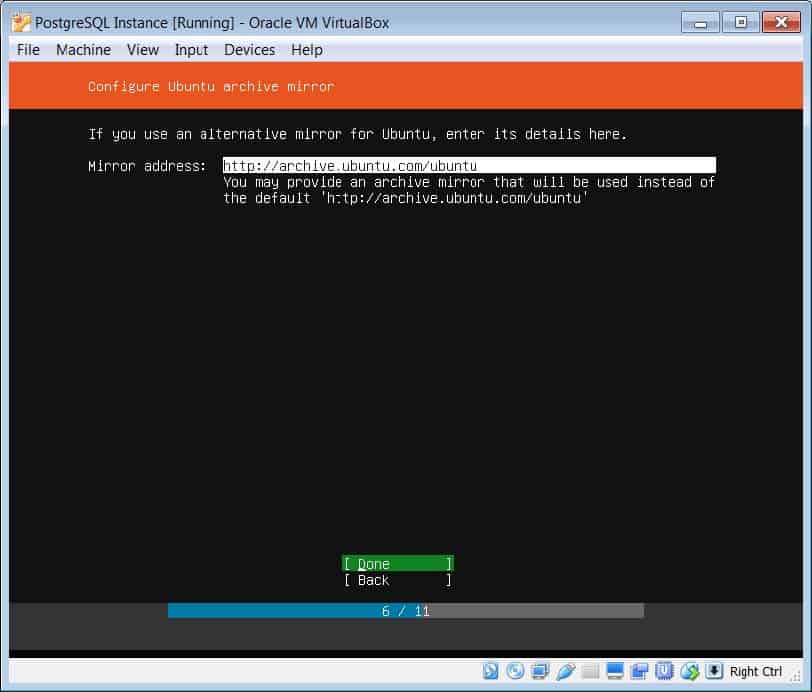
Use the default mirror and press enter.
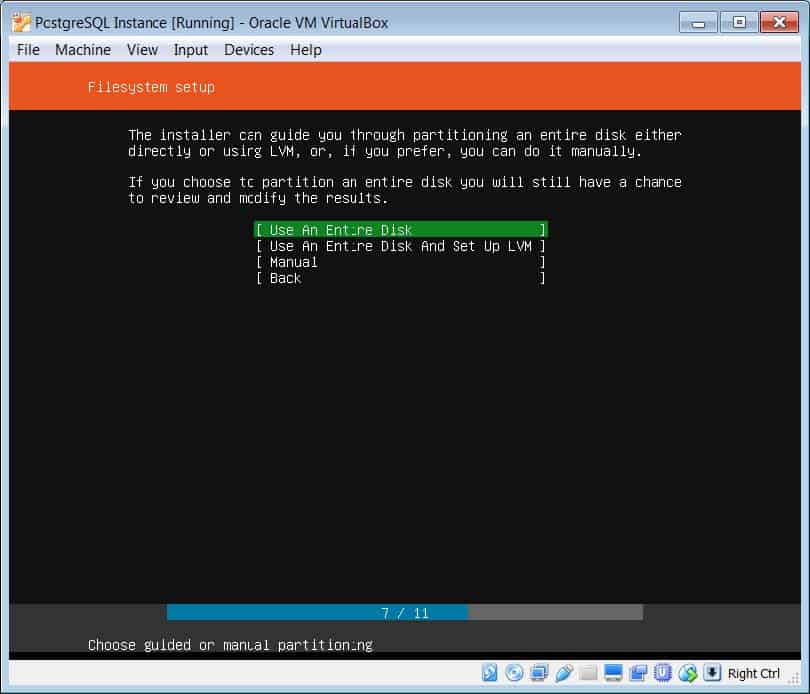
Select use an entire disk and press return.
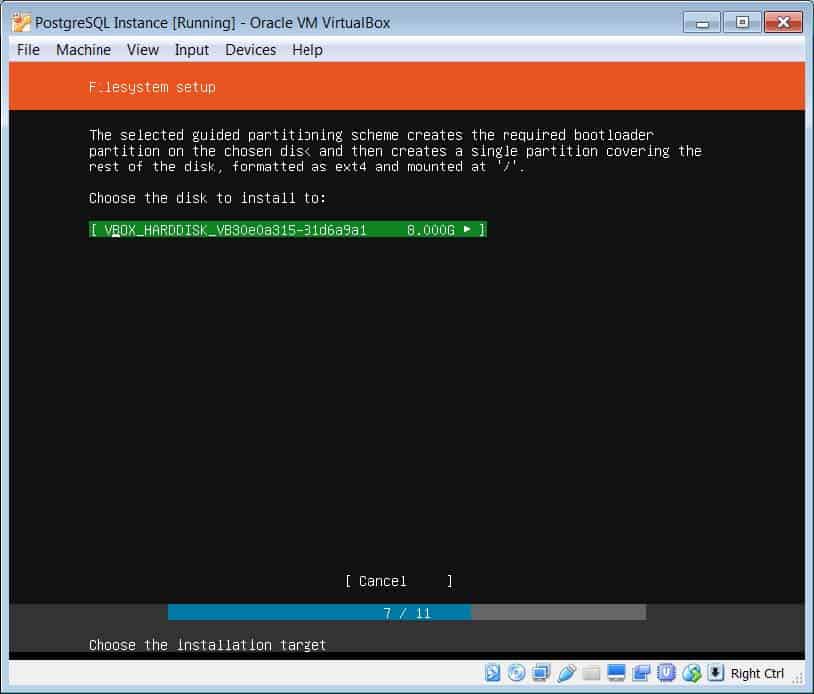
Select the disk, it should be the same amount you allocated earlier in the VirtualBox settings.
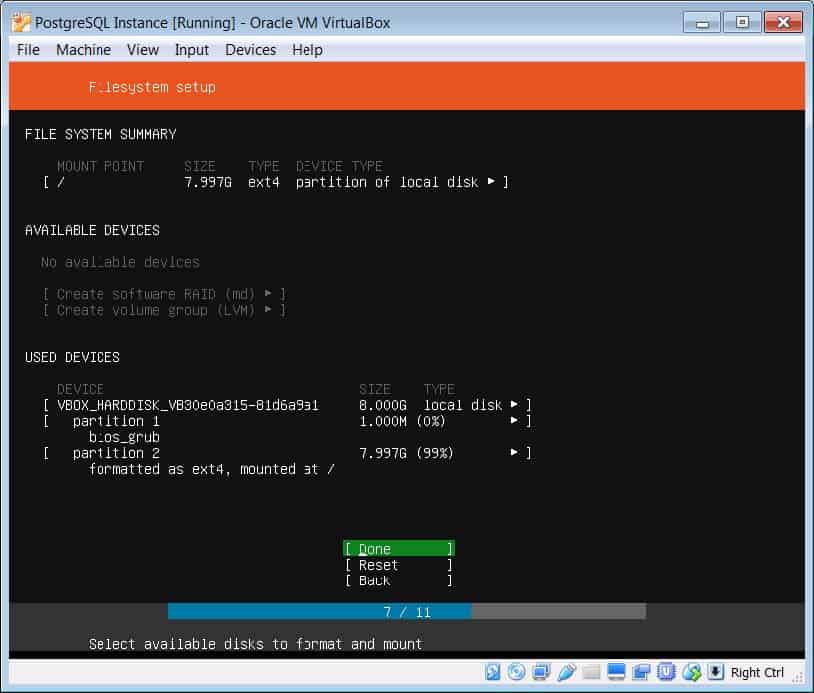
Partition 1 and 2 should equal the total disk space available, 8GB in this case. Select Done and press enter.
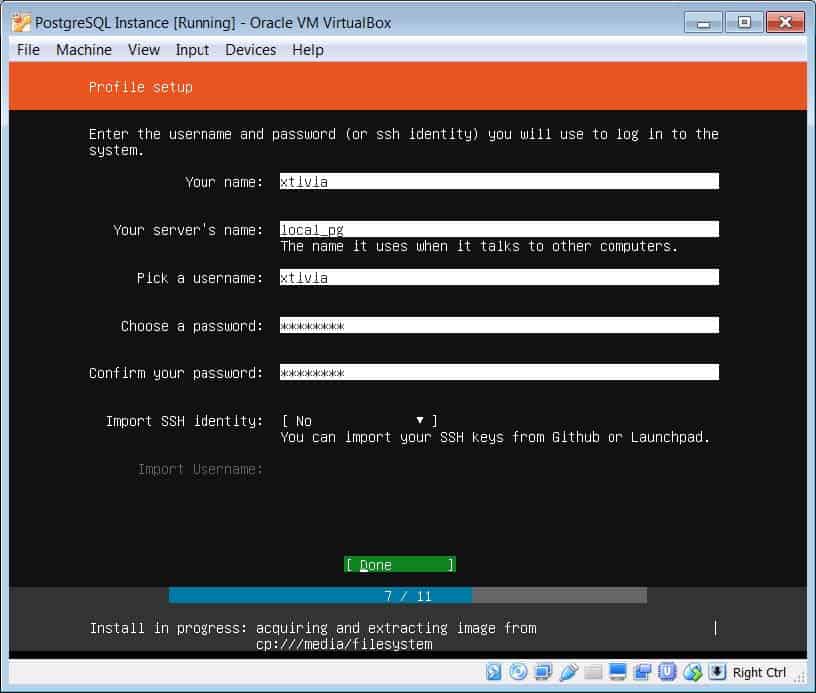
Fill in the desire information how you want to and also choose a password, remember this password you will need it to login to your server, select Done and press enter.
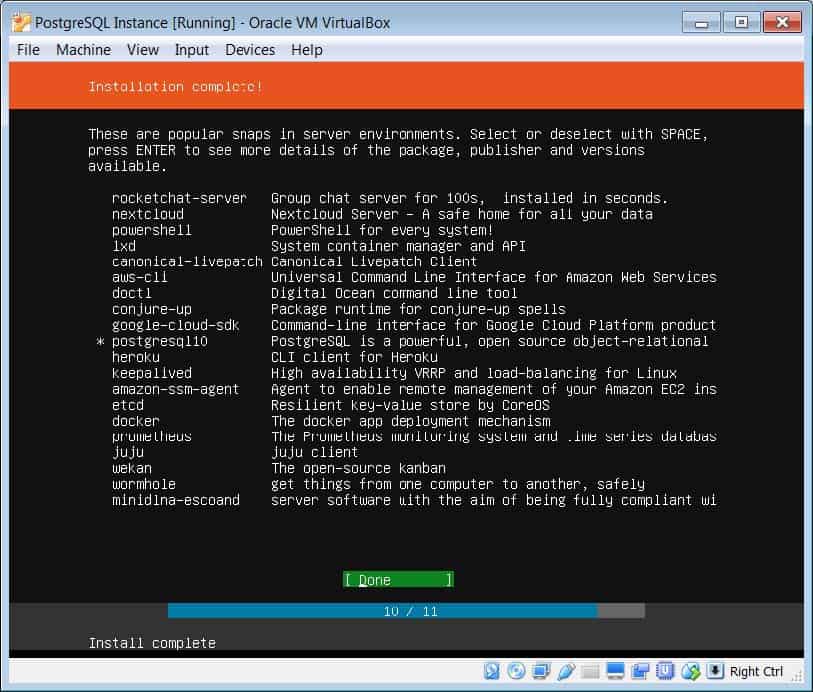
Select postgresql10 and press space bar to mark it, then scroll down to done and press enter.
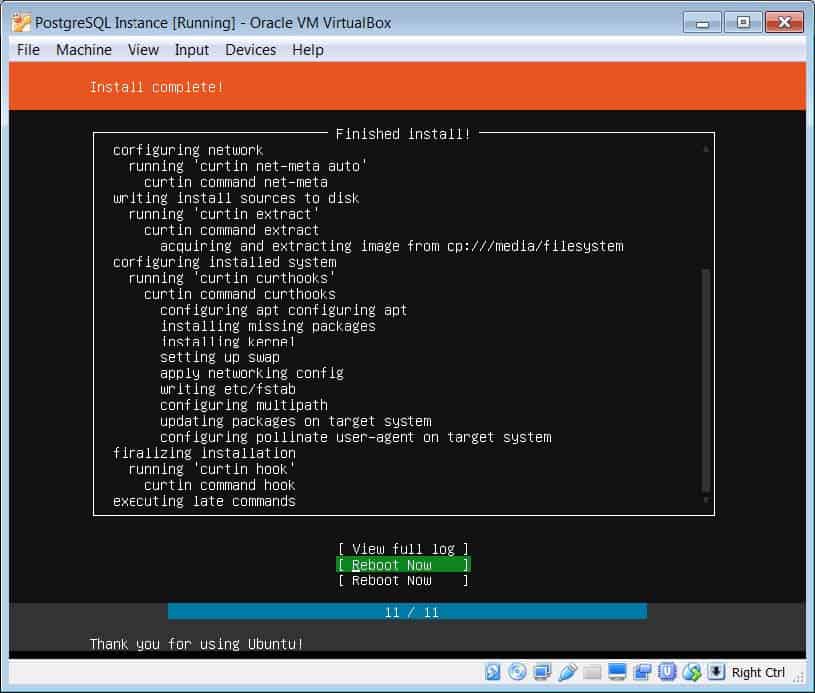
Select Reboot Now and press enter.
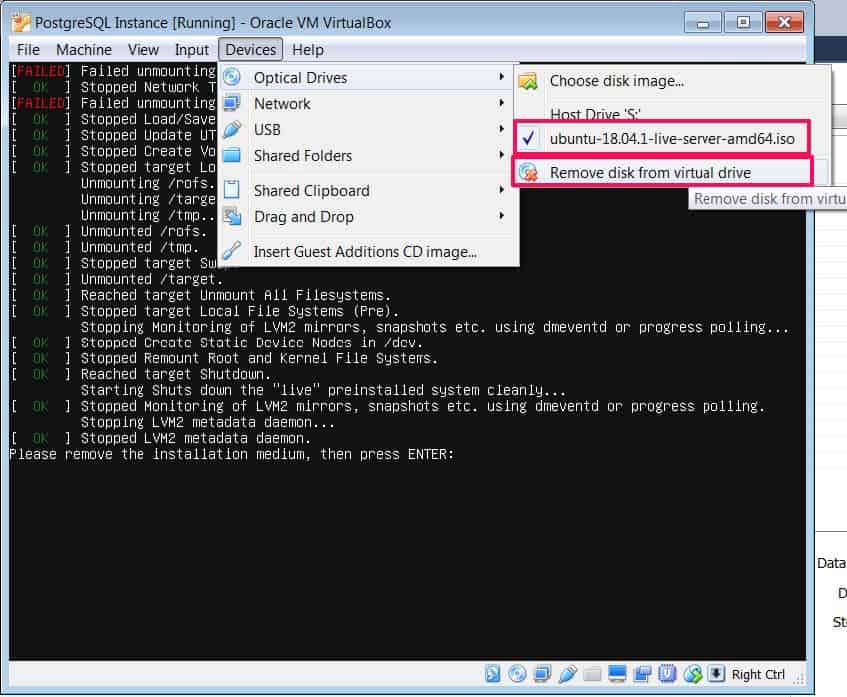
If you see the message about failing to unmount a disk, go to the top of your VM and click Devices, then Optical Drives. Click the .iso so there is a checkmark to the left of it, then click ‘Remove disk from virtual drive’. Then click back into your VM and press Enter. You should see the server load and a username prompt.
At this point we’re going to switch to Putty to finish installing PostgreSQL and also test that we can get a connection to the server from your host machine.
Once logged in with your username and password you assigned earlier, use this command:
Ifconfig
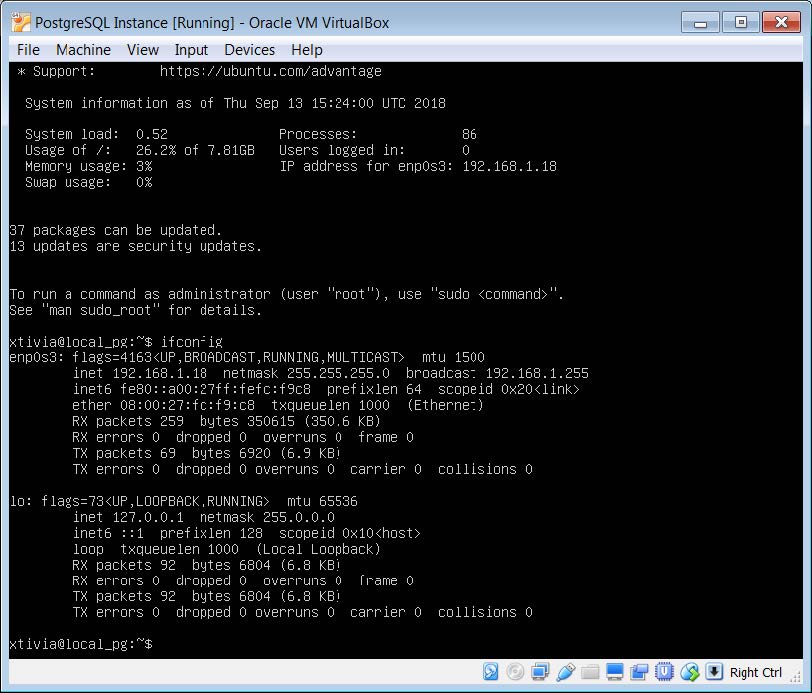
Note the ‘inet’ address, 192.168.1.18 in this case.
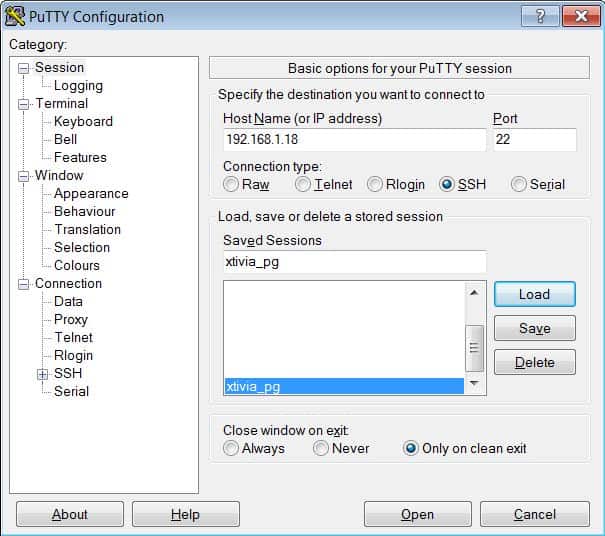
Open Putty and enter the IP address, leave the port as 22, you can save the information by putting a name for the connection in the ‘Saved Sessions’ box and clicking Save on the right. Then click Open. You should connect and receive a prompt to login. If you receive a window before asking if you want to connect to an insecure server, click Yes.
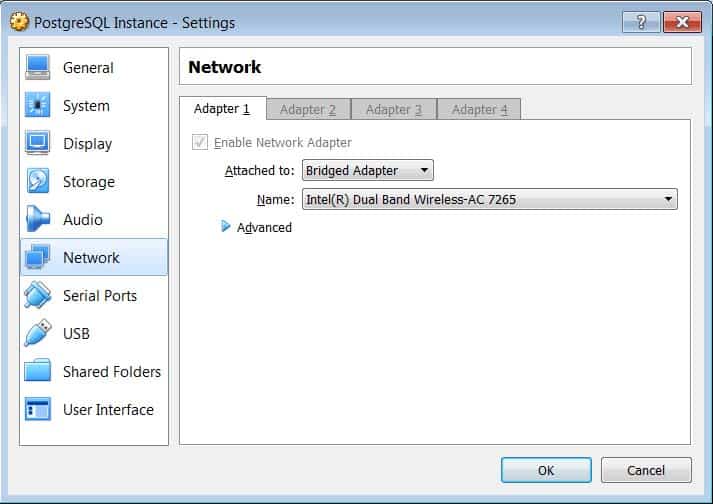
If you’re unable to connect to the server, you may have to bridge your connection in VirtualBox.
Go back to VirtualBox Manager and click Settings at the top for your VM, click Network on the left and make sure it looks like the example below. Click Ok, then reset your server by Right Clicking it in the window and clicking Reset. Then try your Putty connection again and it should work.
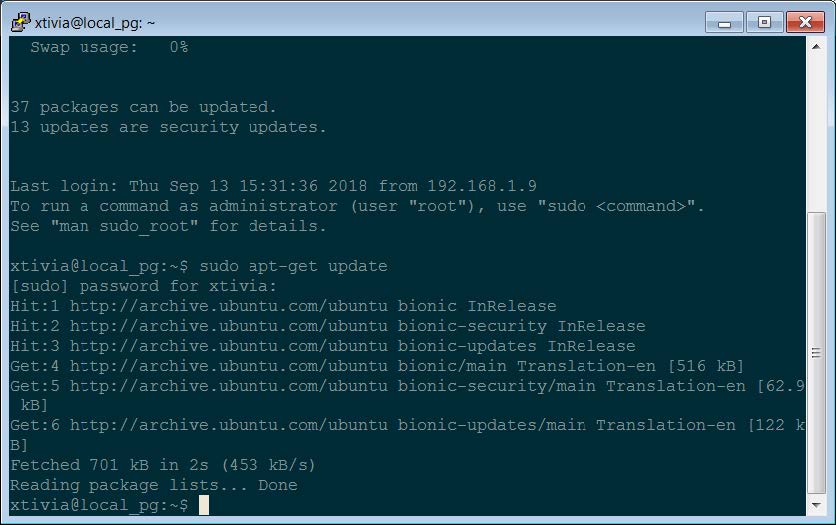
Once logged into your server inside Putty run the command: sudo apt-get update
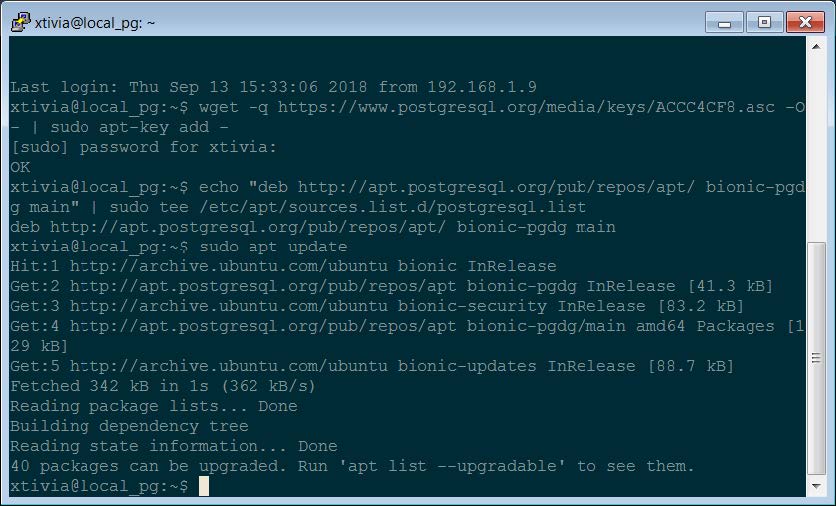
Next, we’ll be updating the repositories for PostgreSQL before we install. Run the three commands below, your results should be similar to the example shown.
- wget -q https://www.postgresql.org/wp-content/uploads/keys/ACCC4CF8.asc -O- | sudo apt-key add -
- echo "deb http://apt.postgresql.org/pub/repos/apt/ bionic-pgdg main" | sudo tee /etc/apt/sources.list.d/postgresql.list
- sudo apt update
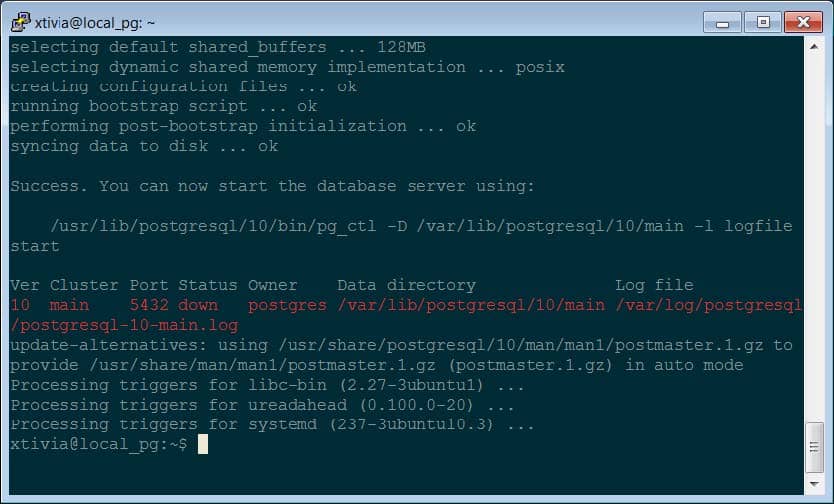
We can now install PostgreSQL:
- sudo apt install -y postgresql-10
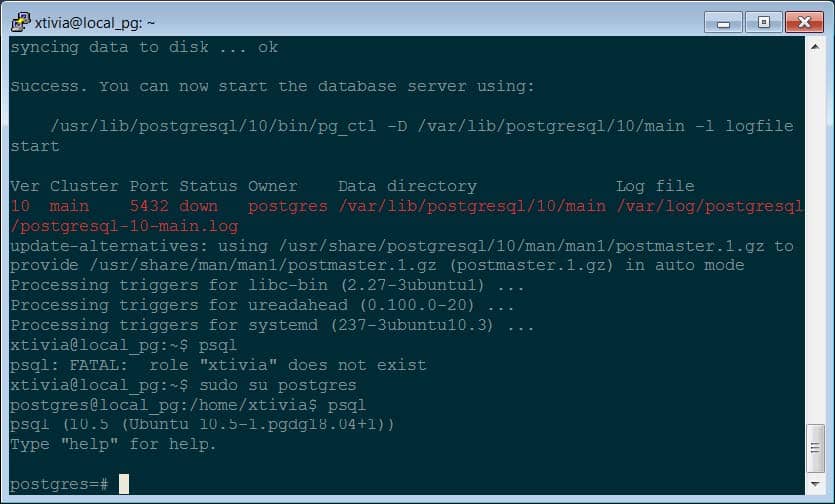
In order to start PostgreSQL you have to be using the postgres user. You can’t use the user you created before. Switch to the postgres user:
sudo su postgres
You can then start PostgreSQL console:
Psql
You’re now all set to start using PostgreSQL. I recommend installing PGAdmin and using the same credentials that you did for Putty to connect to your server. This should give you everything you need to start inserting data and testing configurations for your environment.