1. Sign Up for Azure
Visit https://signup.azure.com and follow the steps to sign up for Azure.
- Requirements
- Microsoft Account
- Mobile Phone
- Credit Card
2. Visit the Microsoft Azure Portal
Once completed with signing up head on over to the portal
Visit: https://portal.azure.com
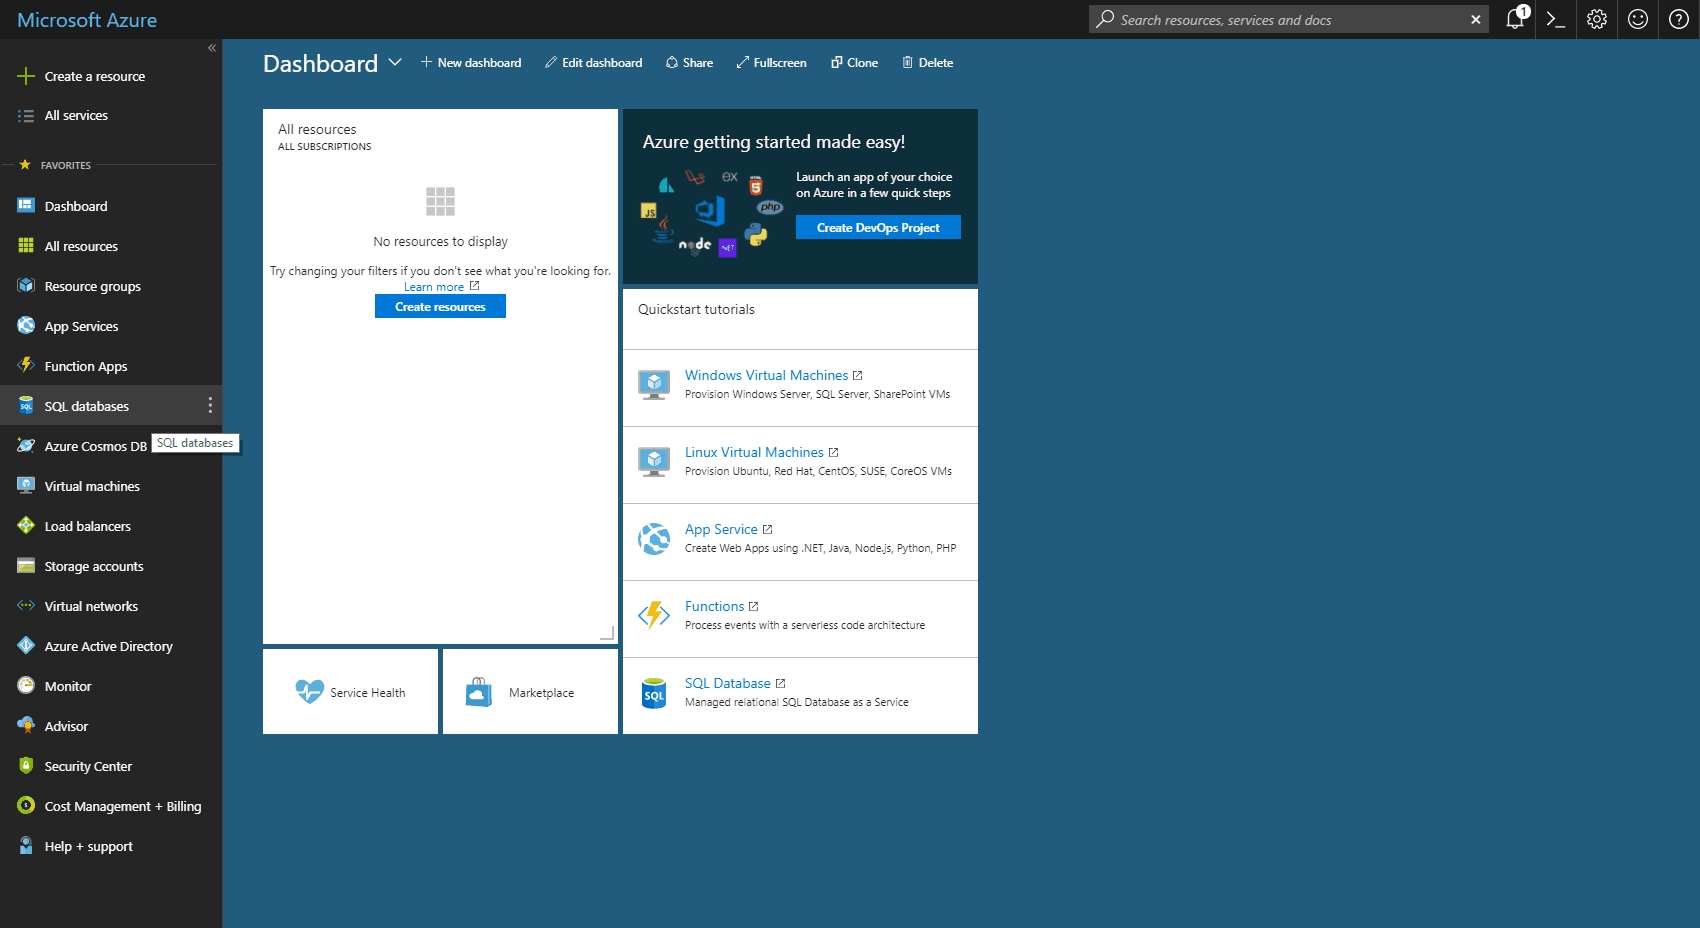
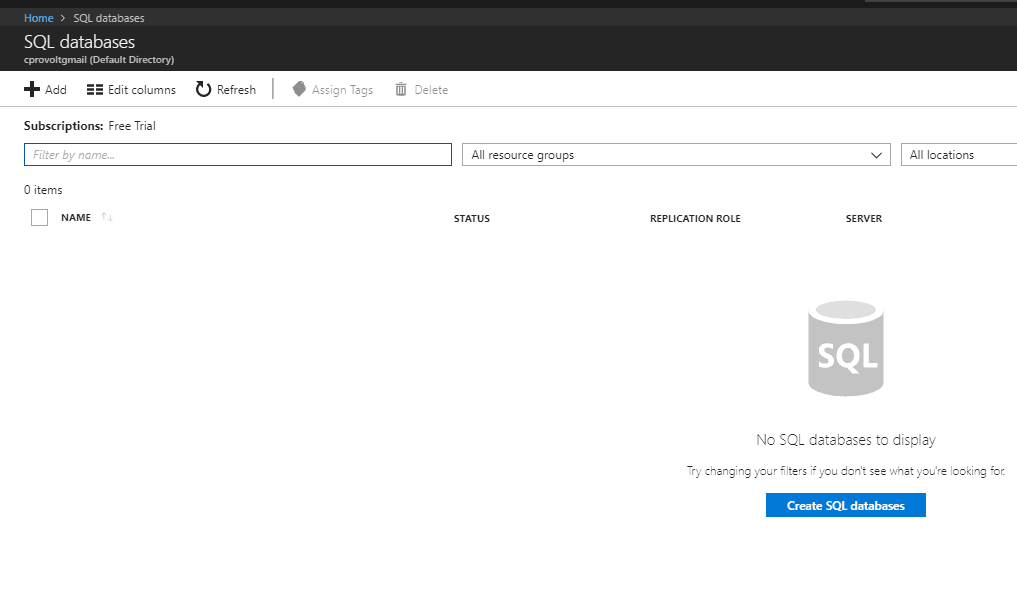
3. Select SQL Database from the Left Menu
4. In SQL Databases screen, click Create SQL Databases or Add Button
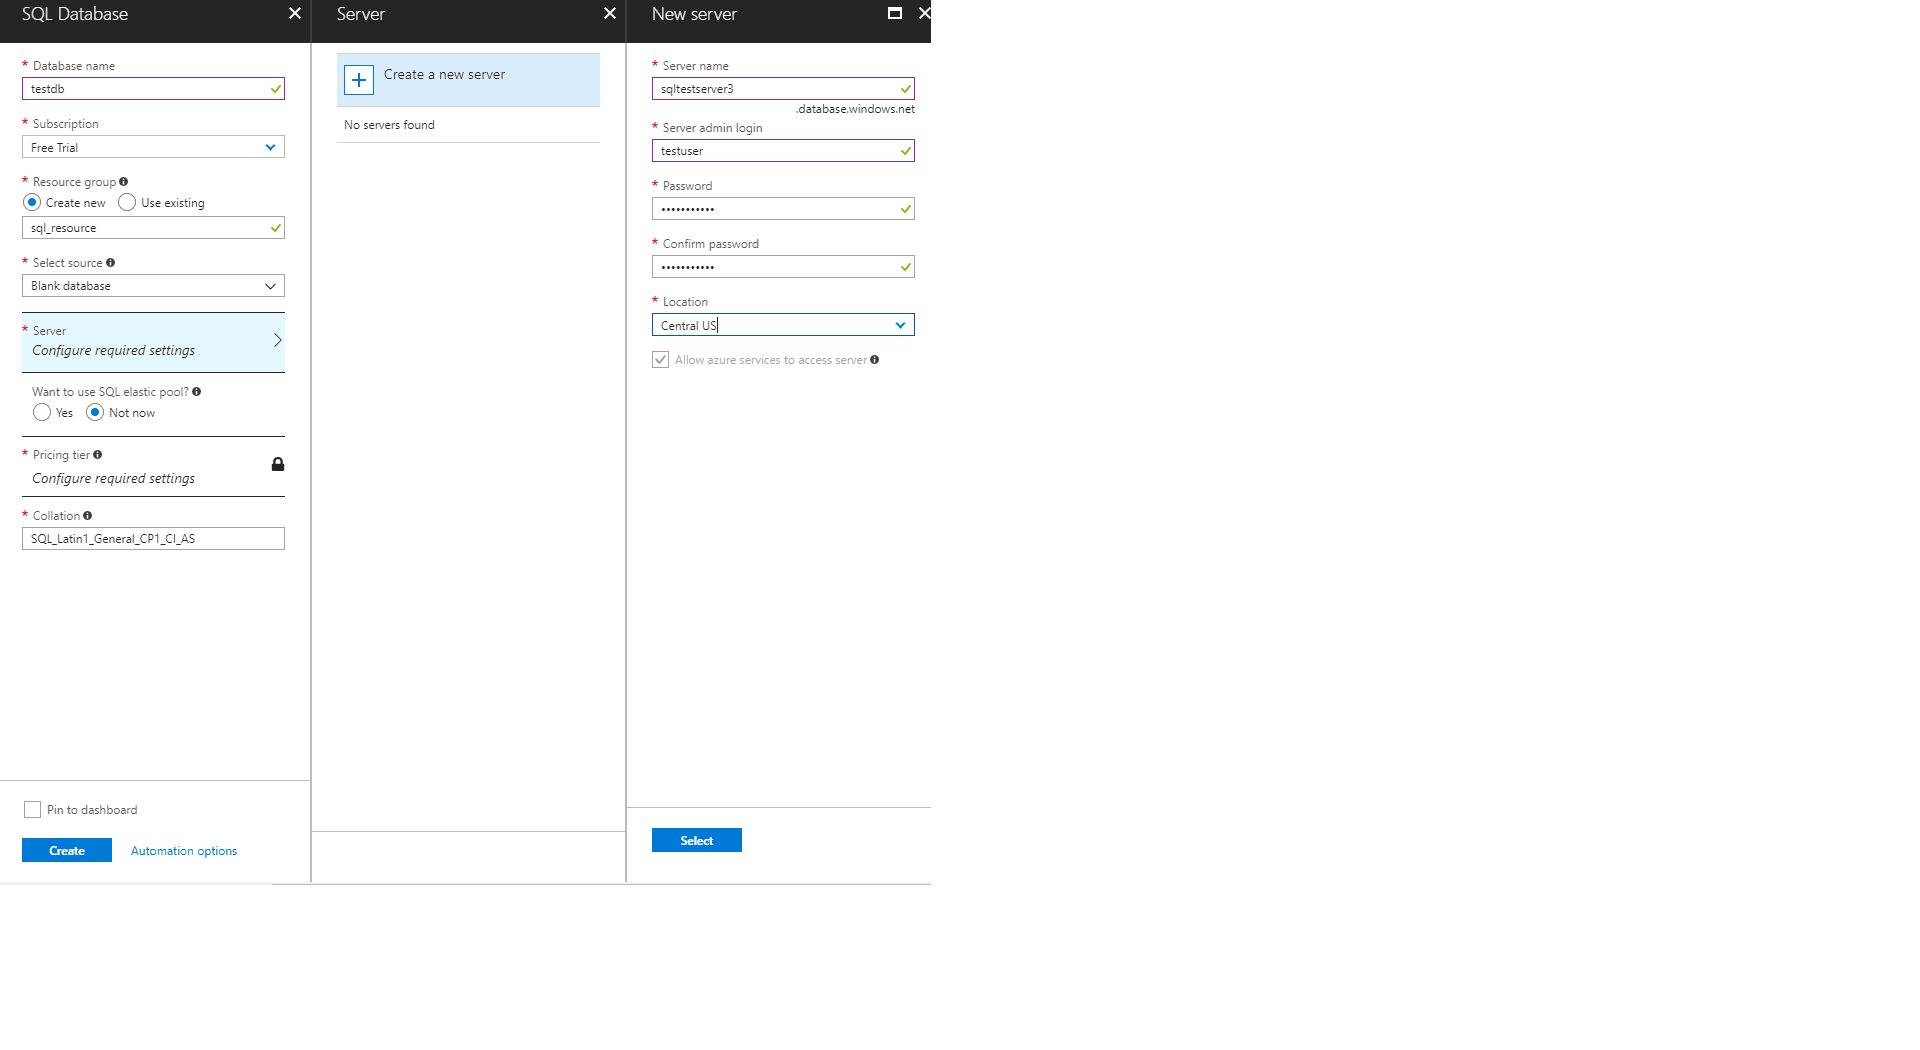
5. Complete the Form
- Database Name: Name you are calling the database
- Subscription: Your available subscriptions will be listed here, I am using Free Trial
- Resource Group: If you already have a resource group that you want to use select it. Otherwise, provide a name for the resource group that will be created. I like to think of this as a group.
- Select Source: There are several options here, I will use a blank database, however one can import from a backup or use the AdventureWorks Sample.
- Server: Selecting this will open the new server dialog, any descriptive name will do
- The server name must be globally unique
- Server admin login: Provide a username for the server admin login
- Password / Confirm Password: This is the password for the new server admin login
- Location: Set the region you want the server to reside
- SQL Elastic Pool: Select Not now. For more details and information see this doc
- Pricing Tier: Select the appropriate tier, the free tier is limited to basic and S1. click apply
- Collation: Leave this be unless you are sure that a different collation is required
- Click Create to finish the form.
6. The new database will show up in the main screen once Azure has completed provisioning it. Use the bell icon at the top right of the portal screen to see active notifications. This will include the status of the creation of the database.
7. Once the database has been generated, click on it to open the management page for the database.
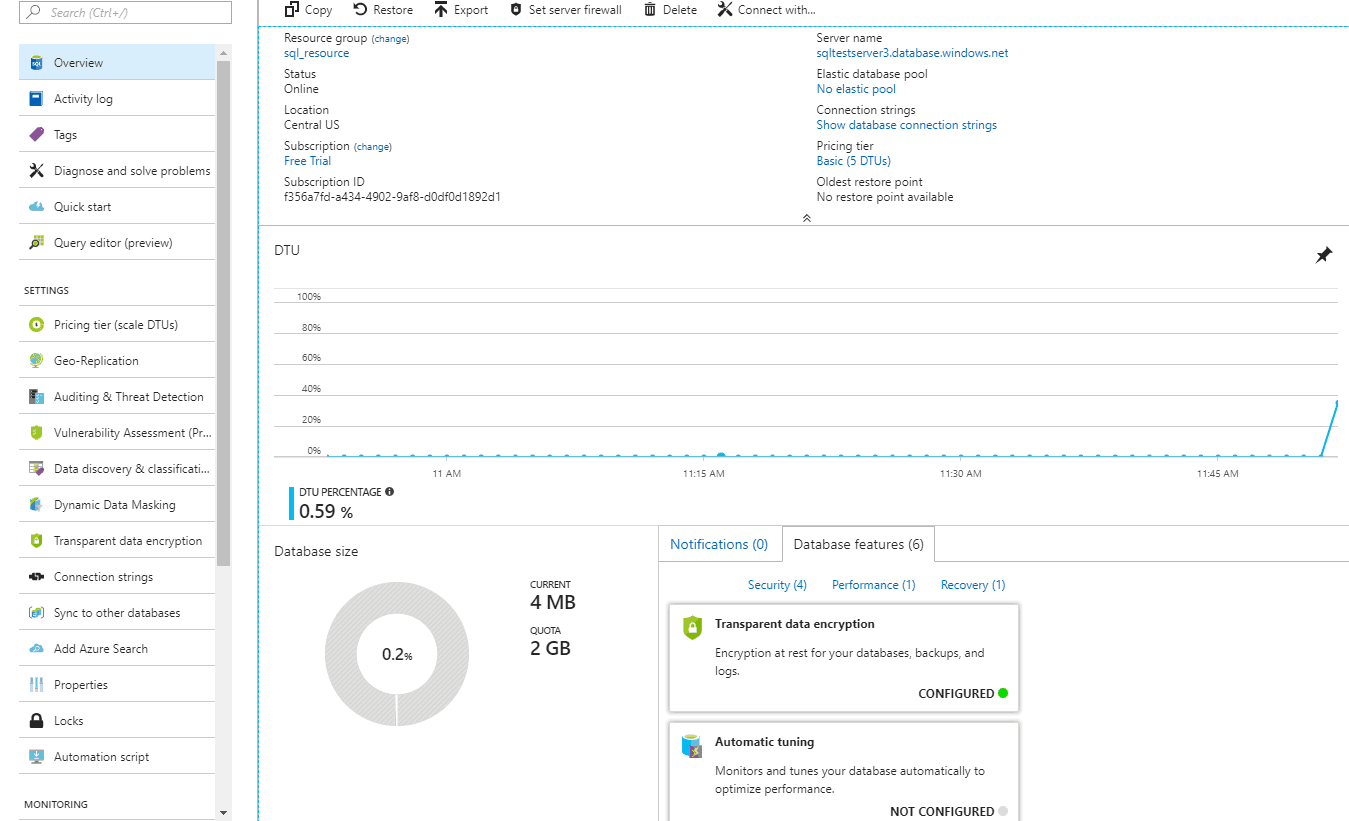
Users are not able to turn off the resource, only to reduce its tier to cost less. It is important to delete all Azure-hosted SQL Databases that you are not being used to ensure that they do not continue to charge against your account.
If the database will be used again in the future take a backup of the database and store it on blob storage or locally.